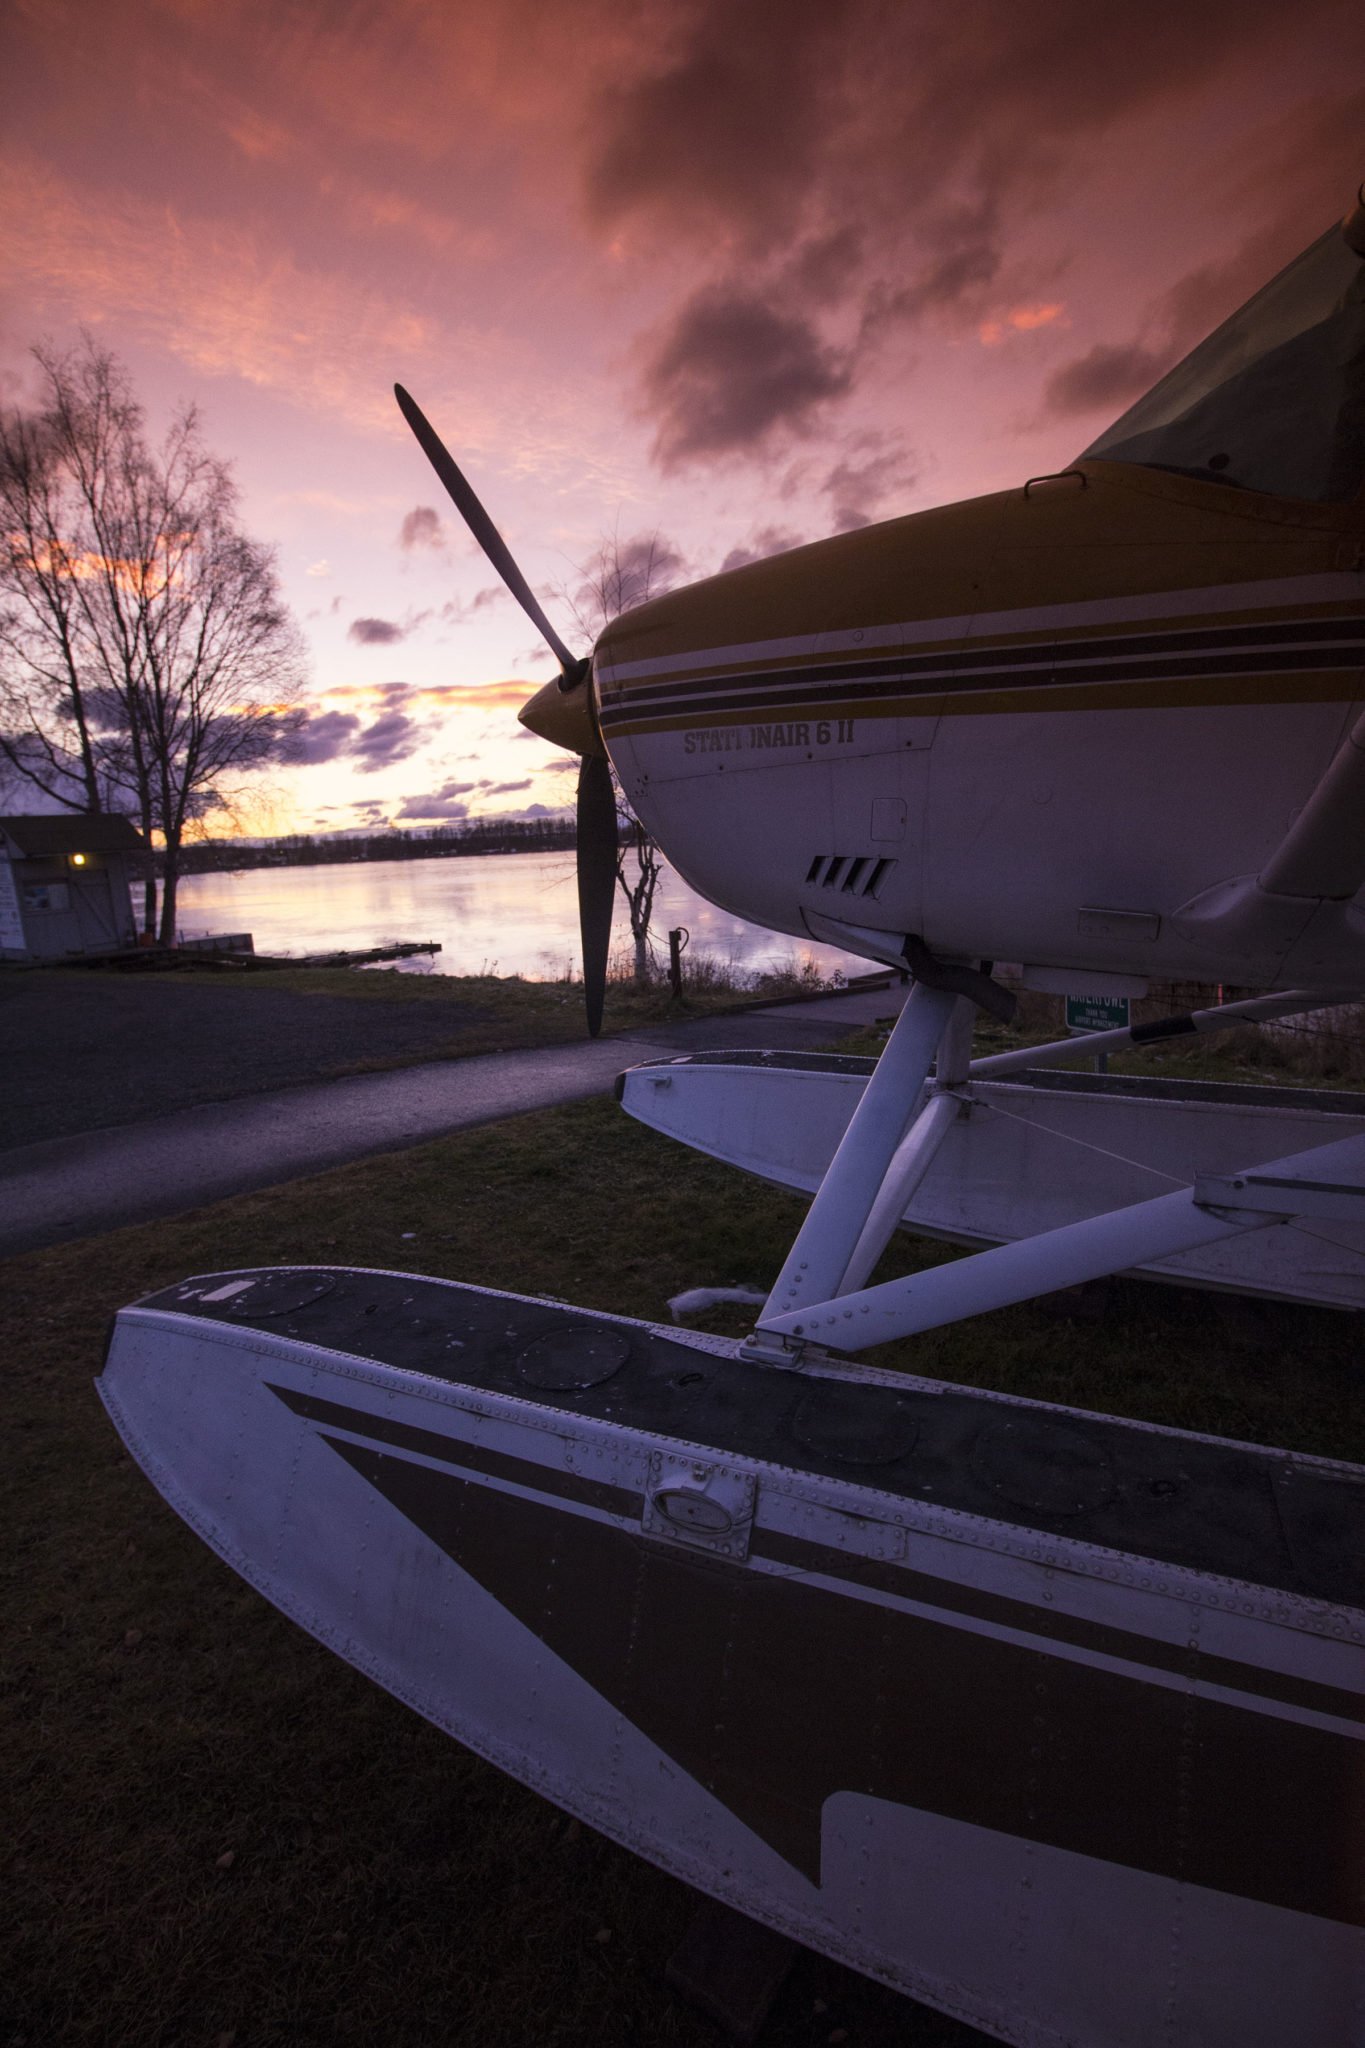
How to add color to your images in flat lighting
When shooting images in lighting that is less than spectacular there are ways to enhance an image. First, look for the position of the dominant lighting and place your aircraft or subject at angles to it. In non-direct sunlight, as in early morning dawn, or after sunset use backlighting. Make your photograph with the sky behind your subject and use the colors of the sky in the image.
In Alaska usually, there are clouds at the horizon at sunset. Clouds overhead will be the first to get light in the morning, and last to receive sun rays at sunset. Watch for the glow of light and use a wide angle lens shot from a low angle including the clouds in the image.
Using filters is not always necessary to add color, but I like them to control a balance of color. I like using the Cokin filters for enhanced color. The image above used a graduated Cokin sunset filter. This type of square filter is partially clear at one end and gradually turns magenta. The opposite end from the clear end of the filter is a deep color. This type of filter is added to the filter ring very close to the front of the lens.
When using filters, adjust your exposure. This is judged by viewing the camera’s image screen or pre-metering the image lighting. The best way to do this is to place the dense color (or Neutral Density gray) at the brightest portion of your image. Keeping your main subject properly exposed and the colored portion of the image a rich much darker area.
Other options are to use post-production software such as Lightroom or Photoshop to add color. Many photographers make their own Presets, others purchase them from photography software developers.
Remember your portrait’s surroundings
Aircraft owners prefer portraits of their aircraft in flight or with spectacular lighting placed in a noncompeting foreground and background. Remember, look for wires, poles, signs or other aircraft that will make an image too busy or add more time to post-production.
