Tip 1: Get up early

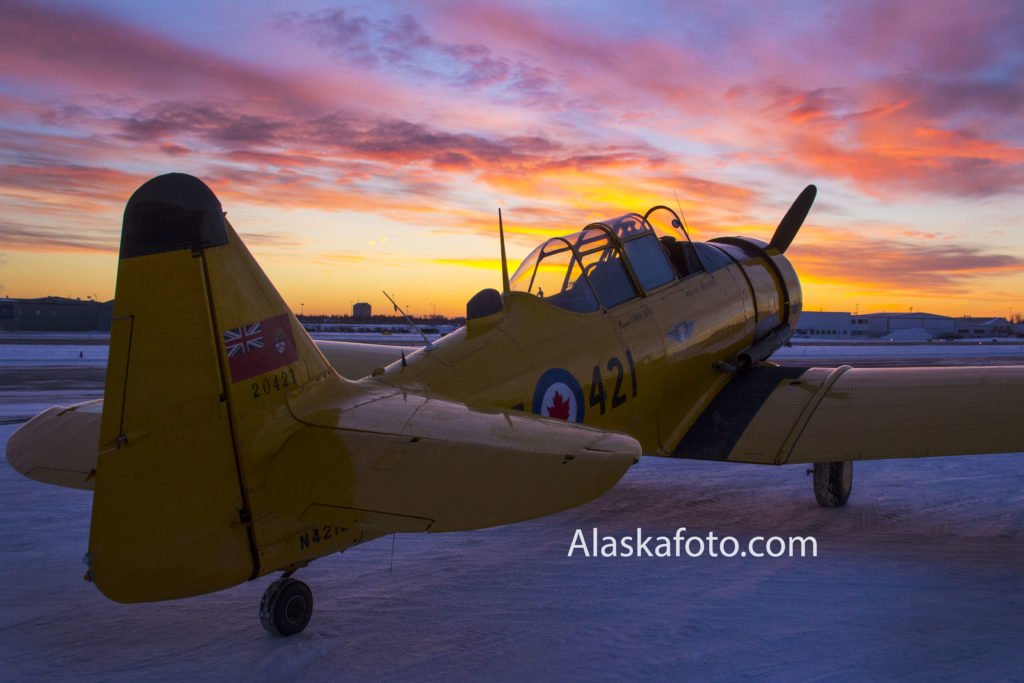
If you want to take amazing shots you have to work for it, and getting up early goes with the territory so that you are ready to take your shots by sunrise. Try to find a runway that is lit beautifully and it will be a bonus if the sun rises to face the runway. The light then shines directly onto the approaching aircraft, and the body and engines are lit perfectly. Once the plane passes you, you can take amazing silhouette photographs if you turn quickly. Underexposing by a few stops can be a solution to heighten the silhouette effect.
Tip 2: Brave the cold!
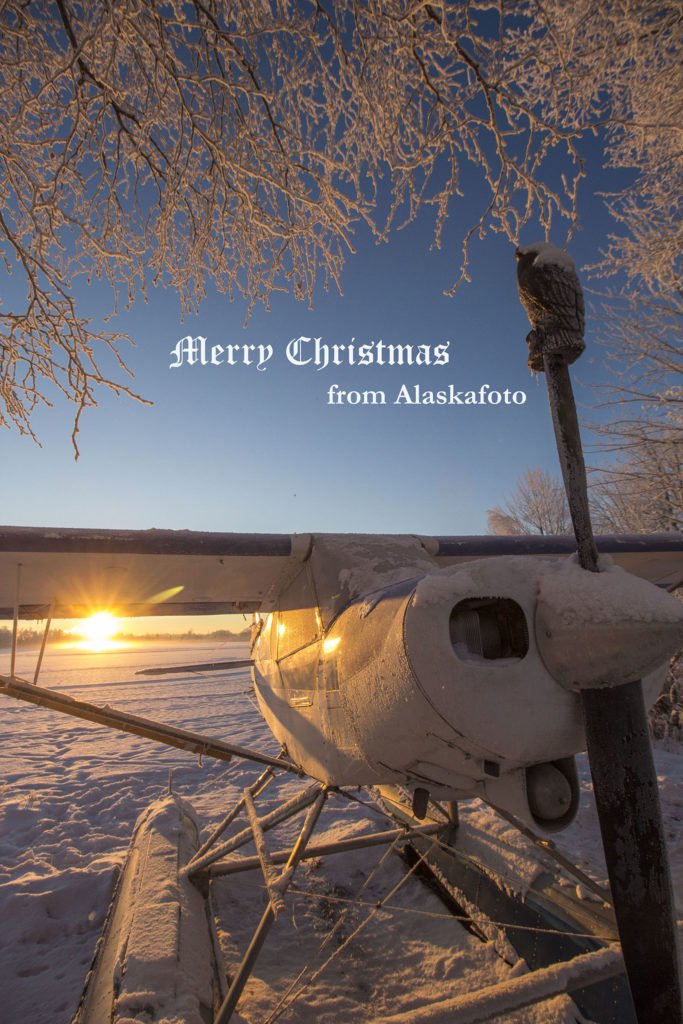
Winter is a great season for Aviation photography. The sun stays relatively low throughout the day. As a result, light falls beautifully onto the subject: the aircraft! Dress warmly; if the cold grips you, operating your camera with a steady hand becomes practically impossible. Preferably use gloves that enable your fingers and palms to grip firmly, preventing the camera from falling out of your hands. A flask of hot coffee certainly helps if you plan to be outdoors for several hours.
If you’re lucky, you’ll find a bed of snow. This can be useful because snow serves as a brilliant reflector, giving the belly of the aircraft extra light as the sun reflects off the ground. You can introduce more detail by overexposing by one stop.
Tip 3: Water
Water reflects the sunlight onto the belly of the aircraft. It is as if you have an assistant holding a massive reflective screen for you.
It also makes a difference if the water is calm or agitated. Also, fiddle around with your exposure compensation settings; you can experiment with this option depending on the level of the sun. And even if you often shoot into the sunlight there, overexposure by one stop can produce good results. Use an average aperture value (F/6.3 ~ F/8.0) in combination with a fast shutter speed.
Tip 4: Search for the setting sun

Those of you who cannot find the strength to leave your nest before dawn can always wait till sunset to get the ultimate shot – the setting sun as it dips beyond the horizon can produce amazing images. The low slung, golden rays of light generate a pleasant feeling of warmth in the photographs. Finding a location where you can see the aircraft taking off from the sun can produce brilliant aircraft photographs. If you live, photograph or fly near the mountains remember that late fall and winter “Alpine glow” adds a nice hint of color to your scene.
Tip 5: Slow shutter speeds
To introduce speed and action to your Aviation photography, you could try taking some panning shots. You move the camera at exactly the same speed as the subject, keeping it in perfect focus while the background fades. This technique does take some skill in using your equipment, along with loads of practice in advance. Set your camera to the semiautomatic ‘shutter priority’ mode, usually denoted by the letter ‘S’. Start off slowly with a shutter speed of 1/100. The camera calculates the correct aperture value for you. If you get the feeling you have command over this setting, you can explore your skills and raise it to 1/80 or 1/60. If your lens offers this option, deactivate the image stabilizer setting. If you decide to take shots like this, pick a feature on the aircraft to use as your main point of focus. This could be a door or a logo. This option could come in handy if you photograph propeller-driven aircraft. The slow shutter speed ‘catches’ the spinning propeller blades making the photograph far more dynamic. Otherwise, it looks like the aircraft is hanging in mid-air with stationary engines.
Tip 6: Know your home base
Make sure that you are familiar with the surroundings where you plan to take aircraft photographs so that you know whether you’re allowed there and whether or not it is safe to be there. After all, there’s a lot of traffic in and around a big airport and accidents happen when you least expect them.

2 Responses