by Rob Stapleton of Alaskafoto
Many people marvel at the images that I make of aircraft. A friend of mine suggested that perhaps I could write some tips for shooting aircraft. For those of you who have gone beyond your cellphone my suggestions will come later with a bit more detail about using your equipment.
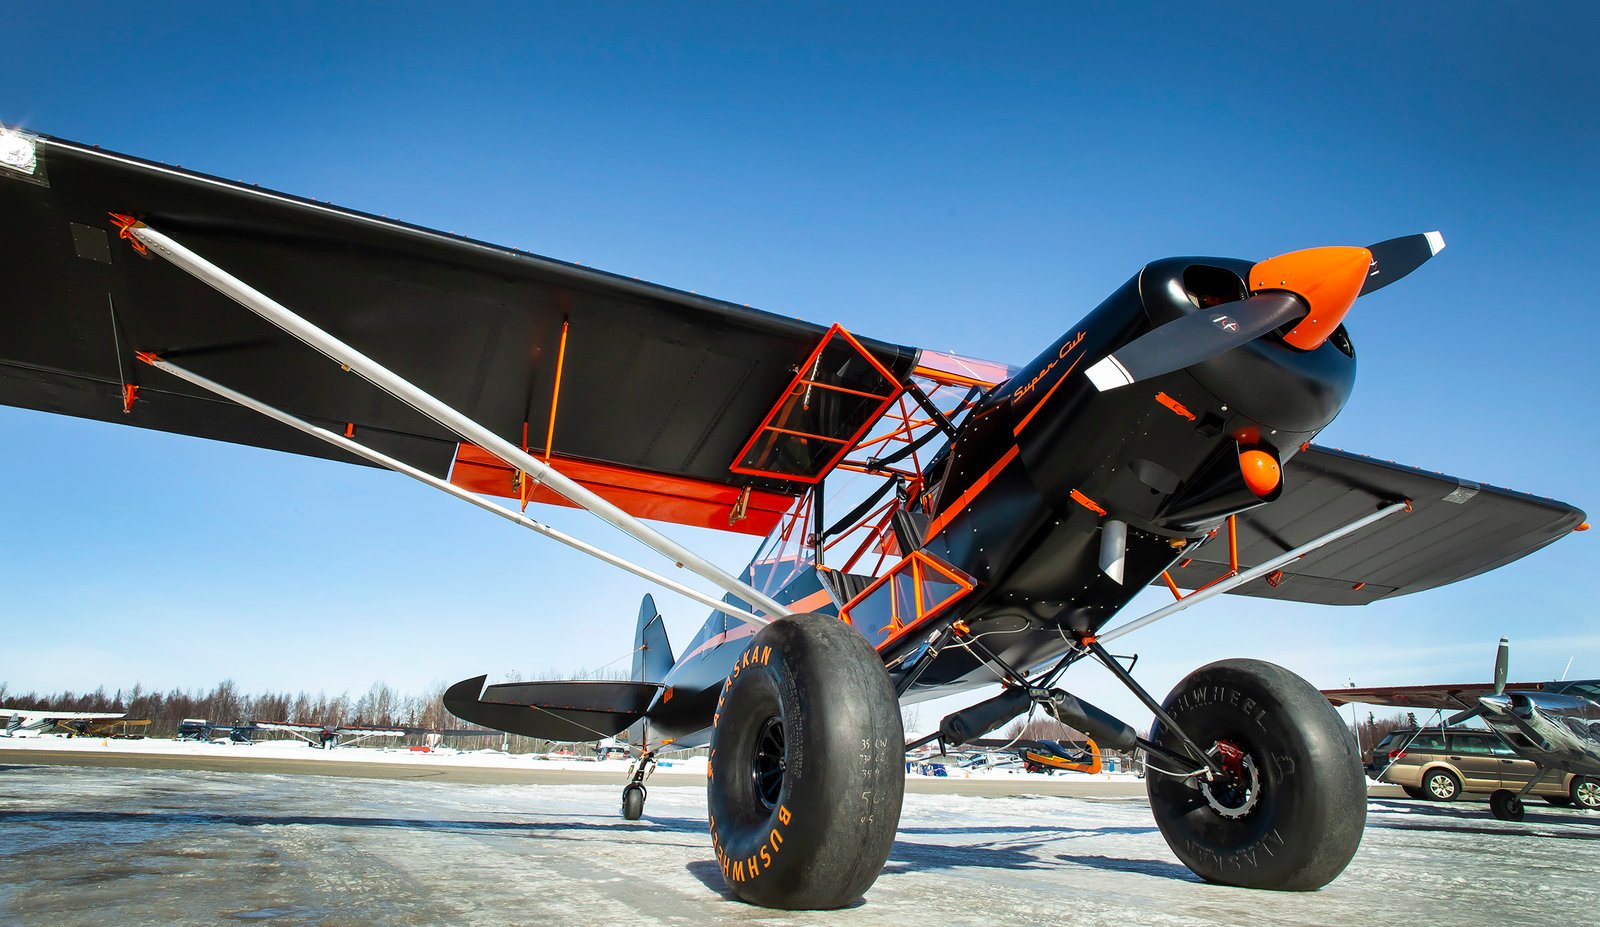
For anyone wanting a good image of an aircraft I find that there are three types of images that seem to appeal to most aviators: low angle image of aircraft at a quartering position in front of the aircraft in question. This is better done in low angle light hitting the aircraft on the side that you are photographing.
Next there is the ground to air image. Very challenging unless you can find and area where aircraft are low and close, take the final approach and either end of a runway for landings and takeoffs. There are usually safety areas at each end and some of those are offer good vantage points under an aircraft. Again, think early morning, or late afternoon lighting.
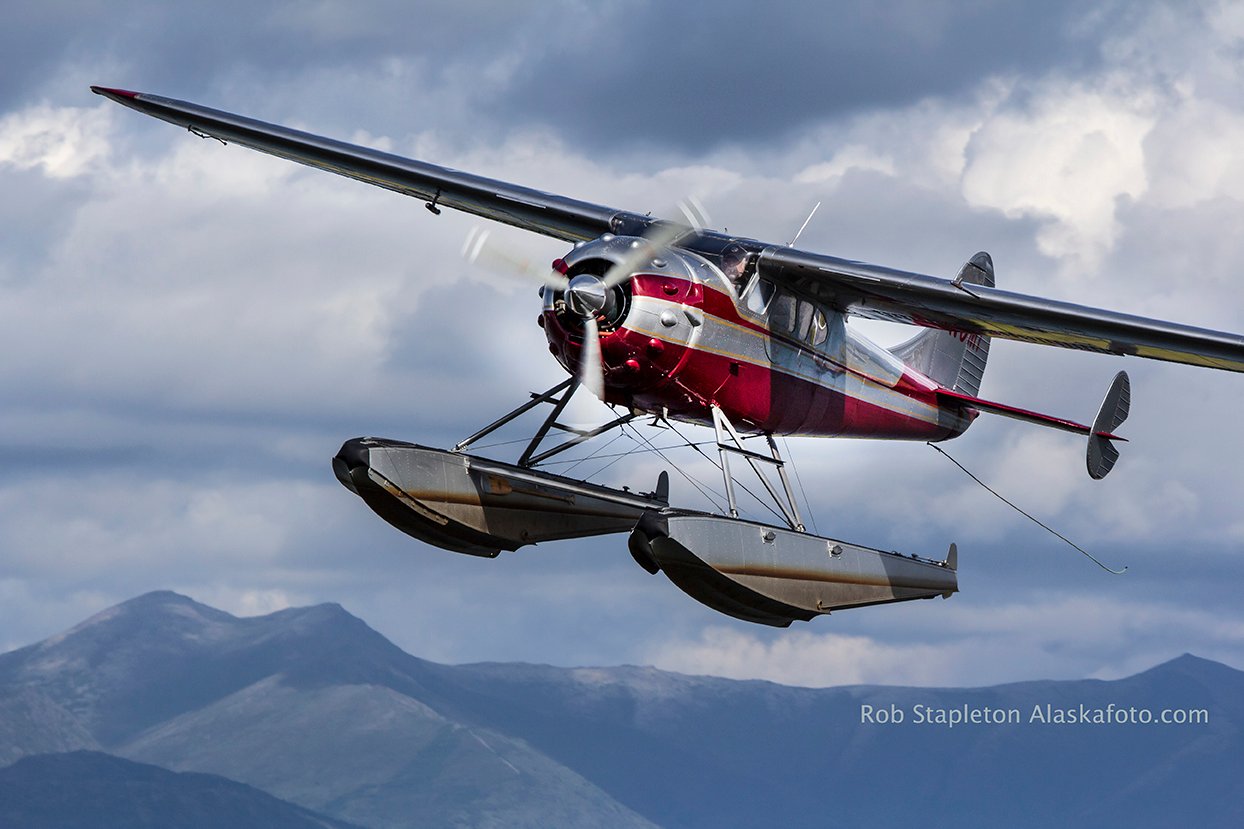
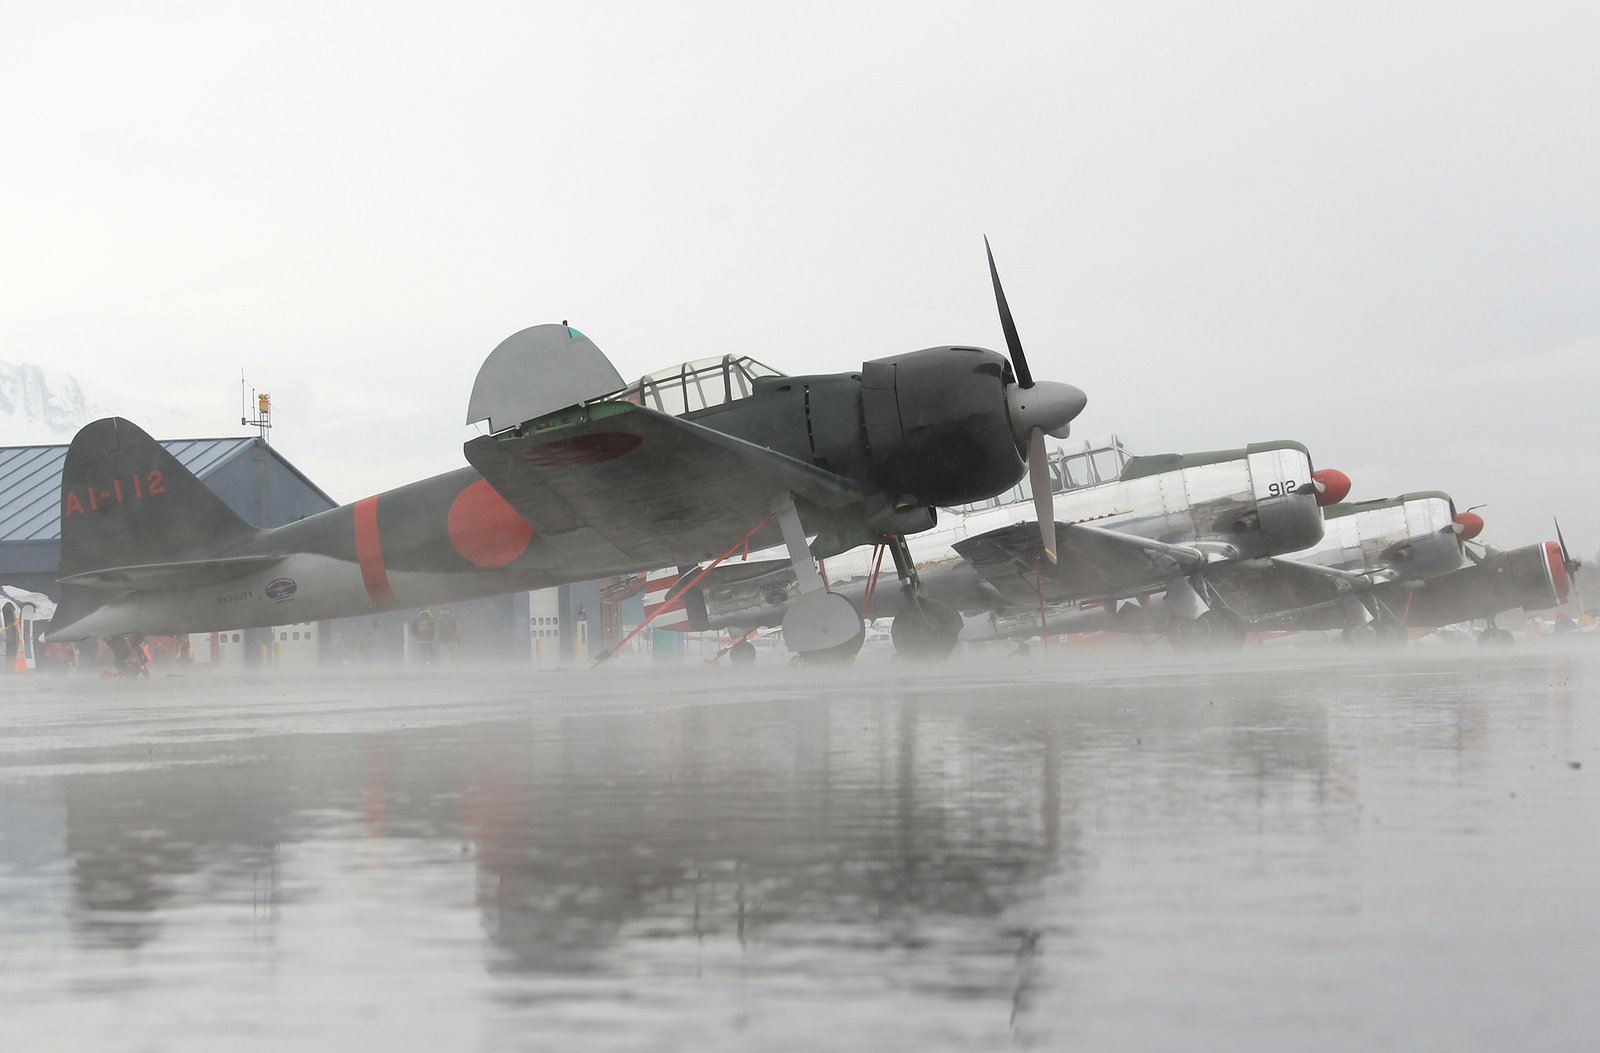
If you’re using your cellphone camera at an airshow my suggestion is to make photos of all aircraft that are blowing smoke while flying or taxing. These are more compelling to view and suggest action. Remember the mid-day image of aircraft in the sky are mundane. Look for cloud formations and unusual weather.
Usually, aircraft are parked on the ramp during airshows and fly-ins and offer a better chance to photograph up-close. Before the shows begin, plus the morning light is better for highlighting details such as propeller spinners, wheels, insignias and logos, cockpit and windscreen bubbles, tail vertical stabilizers and rudder etc.
Advanced Pointers–
If you are using a digital through the lens reflex, (DLSR) camera or a newer mirrorless camera I suggest using short to medium zoom lenses. For manual or action, the camera is best turned to the shutter priority with shutter speeds of 1/300th or faster depending on whether the lens or the camera has a built-in stabilizer (topic for a separate writing).
I shoot with a DLSR equipment and have used the 28-135mm, 70-200 zooms and have found that for still images doubling your shutter speed for the focal length used is a good rule of thumb. This is done to cancel any camera movement by the photographer. (Example using a 200mm focal length @ 1/250th of a second for normal static subject would then require using 1/5ooth of a second for any moving subject setting) Making images using a higher ISO will facilitate the use of a faster exposure. I have found that most digital cameras that offer manual settings also offer ISO changes. (Lower the light level the higher the ISO needed). In some cases, shooting at ISO 1600 to 2500 using longer lenses like 100-400mm, 500, 600mm slower lenses in low level lighting works well. My experience is that you do not get much more noise in the final image unlike the older 35mm SLR films which would get grainy the higher the ISO.
Shooting air-to-air imagery is dramatic and fun but remember safety first and do not badger a pilot into getting to close to other aircraft unless the pilots have agreed to a flight procedure to fly in formation. Information from a passenger is good while flying, but the best air-to-air images are planned by the pilots. Remember to watch for other aircraft who might not be monitoring the same radio frequency being used by the pilots and point them out to the pilot while aloft.
The best air-to air images are done with a background that is not competing (we call it a busy background) buildings, streets, cars, highways, and freeways are just an example. Keep the background free of anything that will take away from the aircraft you are capturing. Ocean, lake, fields of green, blue, or tan are nice and pleasing backdrops.
The best angle for air-to air imagery is in a front angle looking at the aircraft in a quartering position with the light coming in front of the aircraft, hopefully coming from behind your position. Angles from above looking down at the nose or front of the aircraft are also appealing.
If you can remember… do not shoot through the plexiglass windows. They are usually slightly tinted and angled which will distort your image. Open the window (if it tilts outward) or take the door off the aircraft altogether.
Also, a basic reminder for any photographer is to set your camera to make both jpegs and camera RAW images. Yes, this means larger memory cards but it’s worth it. Making the photograph is only half of the work, the rest is done in post processing.
Good luck, see you around the airport.